How To Make A Magic Mushroom Spore Print
Published : July 1st, 2023

If you want to grow shrooms, you need spores! Fortunately, you only need to buy them once. After you've harvested your first crop of mushrooms, it's very easy to take your own spore prints and use this to create your next crop.
Most things in life start small, and that’s very true with magic mushrooms. Shrooms begin life as spores—microscopic, seed-like cells that contain all of the information needed to begin a new mycelium colony and eventually create new mushrooms.
If you can capture the spores from shrooms you’ve grown or collected, you can then go on to grow many more colonies in the future. And the good news is, taking a mushroom spore print is incredibly easy, so there’s really no reason not to do it.
In this article, we’ll bring you up to speed on what you need to know about taking and using spore prints to grow magic mushrooms.
WHAT ARE MAGIC MUSHROOM SPORES?
You can think of magic mushroom spores as the “seeds” of psilocybin mushrooms. When a mushroom matures, it drops its veil (the underside of the cap), and spores are released into the air. Each mushroom can produce millions of microscopic spores.
These then drift away and (hopefully) find a hospitable environment to rest on. Here, they work together to grow into mycelium and create a colony. Then, when the time comes, this colony will produce mushrooms of its own, each of which will release new spores into the air, and the process will continue.
So, when growing magic mushrooms, you can’t get far without spores.
WHY EXTRACT MAGIC MUSHROOM SPORES?
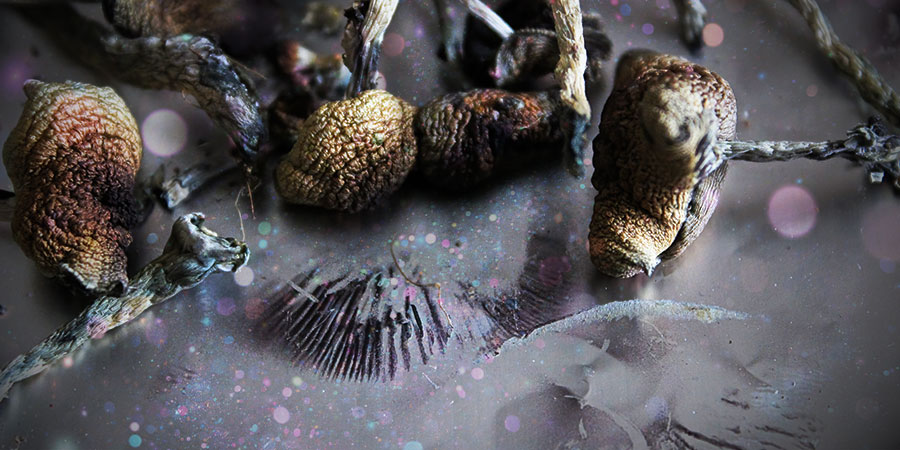
You can buy mushroom spores online (in the form of prepared spore syringes or prints), which comes with some benefits, but extracting your own is very easy, rewarding, and satisfying.
As well as saving money, extracting your own spores means you’re able to continue breathing life into your favourite strains. In time, if you really commit, you may even be able to selectively breed your own new mushroom strain.
If nothing else, collecting millions of spores for free is a great way to ensure that you can grow mushrooms for years to come. The best part is, if they’re stored correctly, then magic mushroom spores can last for a very long time indeed.
HOW TO CHOOSE THE RIGHT MUSHROOM
You can take spores from any of your mushrooms, but being picky will help you achieve the best results further down the line.
Taking spores from small, frail-looking mushrooms is not your best bet. Instead, go for the largest, healthiest-looking specimens. The more robust the mushroom that the spores come from, the more robust the resulting offspring will likely be.
Likewise, fresher caps are a better option. This is because they contain more viable spores and are less likely to be contaminated, meaning the resulting spore print will have a greater chance of yielding a good crop of magic mushrooms.
There’s no way to know exactly which mushrooms will produce the best spores, but, in general, those that look the best will probably yield the best results.
HOW TO EXTRACT SPORES FROM SHROOMS
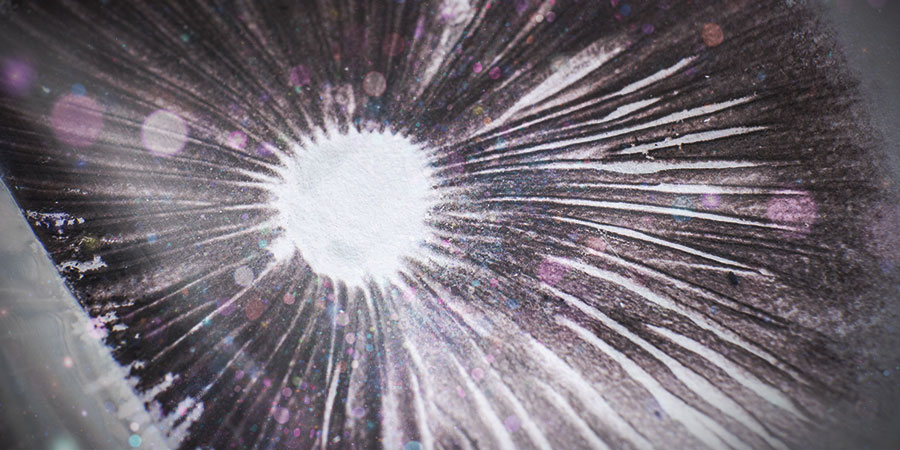
So, now that you know how worthwhile it is to extract spores and make spore prints from them, let’s find out how to do it. It’s an incredibly easy process, during which the only thing you have to be particularly careful about is hygiene.
THE IMPORTANCE OF HYGIENE
Things must be sterile! The main reason that mushroom grows fail is because they become contaminated with other fungi or bacteria. Though this can happen at any point, it’s best if you don’t introduce foreign spores alongside your Psilocybe cubensis spores!
First, wash your hands thoroughly. Then, sterilise all equipment and surfaces you might use with an antibacterial substance, such as isopropyl alcohol.
An airtight room is also very helpful, but not always possible. However, always keep doors and windows closed to minimise air movement.
EQUIPMENT
- Alcohol (such as isopropyl alcohol)
- Aluminium foil
- Cloth
- Cup or glass
- Scalpel or sharp knife
- Ziplock bag
- Torch lighter
- Fresh mushroom caps
You can also make spore prints using less equipment than this; paper, foil, a glass, scissors, and a mushroom cap should work as well. However, the above tools make for the greatest chance of success. Below, we’ll provide a method using all of the equipment, but feel free to adapt it for what you have available.
METHOD
- Sterilise everything with alcohol, and let it properly dry.
- Cut a square of foil that is larger than the cap of a mushroom, and lay it flat.
- Remove the cap using a sterile blade. Use the torch to ensure the blade is fully sterilised.
- Place the cap on the foil, gills down.
- Cover the cap with a cup or glass.
- Leave for 6–12 hours.
- Uncover, remove the cap, and replace the cup/glass for another 6–12 hours.
- Remove the bowl. Carefully fold another piece of sterile foil around the spore print. Ensure the print remains intact.
- Label the foil (you don’t want to forget which strain is inside) and store it appropriately.
HOW TO STORE A MAGIC MUSHROOM SPORE PRINT
Store your spores in a cool, dark place. Put the foil inside a ziplock plastic bag, and add silica gel to absorb any ambient moisture around them. So long as they stay dry, your spores will remain very fertile for at least two years. If they get wet, they’ll activate and die in storage, so moisture is not your friend.
They could still work for upwards of five years, but after two years you’re going to see a gradual reduction in the rate of successful inoculations.
HOW TO USE MAGIC MUSHROOM SPORES
Spores are the starting point of all mushroom cultivation journeys. Here are some of the most common methods of using spores to grow psilocybin mushrooms.
AGAR
An agar solution uses agar extract from seaweed along with nutrients and water as a medium for growing mycelium from magic mushroom spores.
In terms of avoiding contamination, agar is fantastic, as you can watch what’s growing on it and simply cut away any contaminated growth. Once ample mycelium has formed on agar, you can cut it out and use it to inoculate a larger substrate, from which magic mushrooms will then grow.
PF TEK
A PF tek is one of the most popular options when it comes to growing mushrooms. With PF tek, activated spores are injected directly onto a “cake”. A cake is a nutritious substrate made from a range of ingredients on which mycelium can happily grow.
With this method, you inoculate the same substrate from which the mushrooms grow, which means it involves fewer steps than other methods and is fairly reliable. The main downside is that if it becomes contaminated, there’s not a lot you can do. In most cases, a contaminated cake cannot be used.
LIQUID CULTURE
A liquid culture is a liquid spore solution in which spores can create mycelium. It consists of sterilised water, nutrients (honey, etc.), and mycelium. The mycelium grows until it has colonised the entire solution.
This spore solution can then be used to inoculate a variety of substrates. The advantage is that you have a lot of prepared mycelium, meaning it has a much greater chance of becoming the dominant growth on the substrate, minimising the risk of contamination.
SHROOM SPORE PRINTS: IT’S REALLY THAT EASY
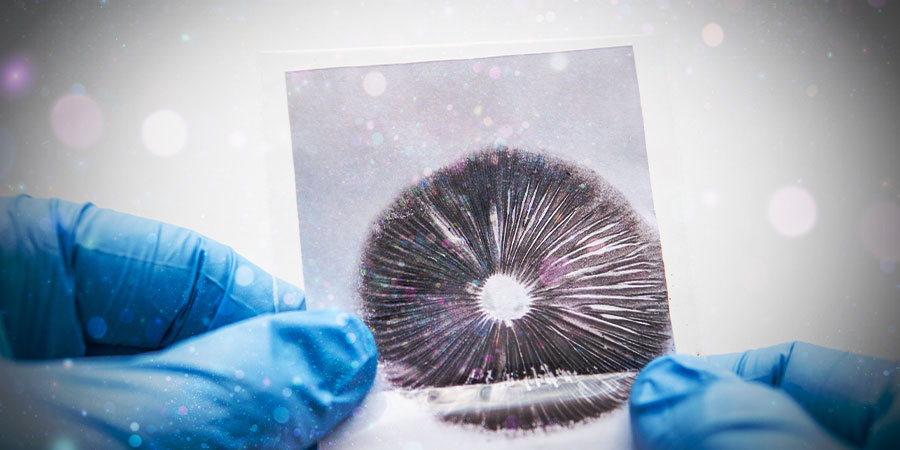
As you can probably see, taking a spore print from magic mushrooms is incredibly easy. If you’ve grown a crop of shrooms yourself, there’s really no reason not to take one for later. Even if you don’t intend to grow any more immediately, spore prints last so long that, by the time you decide you’d like another go, they will probably still be good to use!


